If you are up for the challenge and fun of trimming your dog’s nails – yes, I do think trimming dogs’ nails is fun, weird, I know – keep reading.
Trimming your pet’s nails can be the most harrowing of all tasks. If this is true for you, or if you are at all concerned your dog will get scared and bite, have your veterinary team or dog’s groomer do it! I do not want your dog undergoing more stress than needed, and I do not want you getting hurt! This do-it-at-home stuff is for calm dogs who will let you trim their nails at home.
Step 1 – During your dog’s most impressionable weeks – when he is a very young puppy, play with his feet. Gently pull his nails. Pet his toe webbing. Hold his paw. Teach him “shake” and “other paw” so foot holding and nail trimming will be no big deal.
Step 2 – Most families miss step 1, so do not feel bad! Either your dog was not even a part of your family yet, or it never occurred to you to do such a weird thing as play with their feet! Start now and progress slowly. Older puppies and dogs can learn to have their feet messed with – it will just take more time and patience on your part.
Step 3 – Buy nail bleed stopping powder. Everyone’s biggest fear is that they will “quick” their dog, or cause a nail to bleed. You will. And it will be ok. Do everything you can to not cause a nail to bleed, and when you do, be ready with the powder. I am not a big fan of nitrate sticks or styptic sticks as they sting more than powder does.
Step 4 – Buy nail trimmers that are designed like scissors. The “guillotine” style nail trimmers are more difficult to manage. It is easier to see exactly where you are cutting and control the trimmers with the scissor type model.
Step 5 – This is easiest with treats on hand and a friend to help, especially if you are still learning or you know your dog does not like nail trims. Decide if your dog is more comfortable standing loosely held by the collar, on his side or “bear hugged” and go with that method.
Step 6 – With lighter nails, you can see the pink quick that you want to avoid, which can be helpful, especially as you are first learning how much to trim. Even with dark nails, the method is the same – trim the pointed end off of the nail. “Duh,” you say. “It is easy to trim too much!” I say. Stop just before the part where the nail becomes thicker. Do not forget to trim the dewclaws!
Step 7 – If a nail bleeds, dab it with a paper towel or soft cloth and place a small pinch of powder gently but firmly onto the cut edge of the nail. As you become more proficient, you will get a feel for how much you can cut before the quick.
Step 8 – You can be done here! If you and your dog are still doing okay, trim a very small bit more. Look at the cross-section of the nail you just trimmed. If you see a circle in the middle of the cross-section of the nail, that is the part of the nail just before the quick. You are as far back as you want to go.
Step 9 – Use a nail file or one of those twirling sandpaper things made for dog nails to smooth the edges of the cut nail.
This can be done with a dremel as well, but THAT should be demonstrated to you by a veterinary team member or groomer! It is too easy to file too much of the nail off too quickly or injure the skin or a pad or pull hair that is accidently caught in the dremel. It is a great tool, but make sure you have been shown how to use it to finish nail trims before you try it. I do not feel I can explain it well enough in text alone and odds are we live too far apart for me to stop by! But odds are also that someone in your area does know how to dremel nails and would be happy to help you learn!
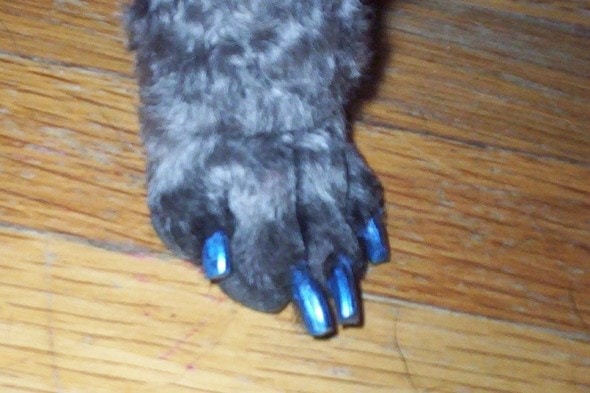
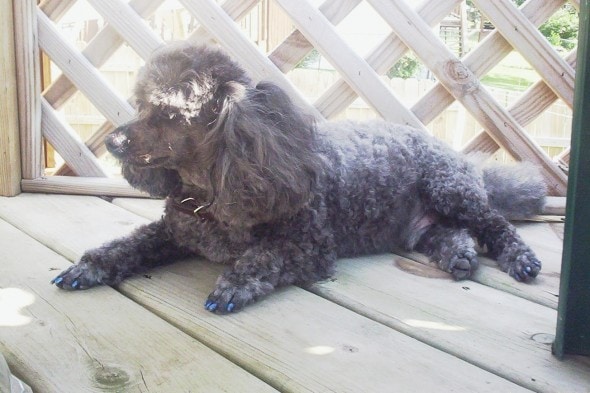
Step 10 – This is only for the calmest and poodliest of dogs. Our Noodle the Poodle honestly loves this step the best. Paint your dog’s nails a beautiful color!